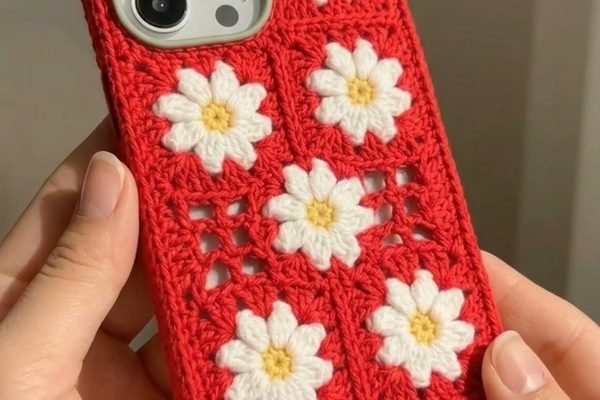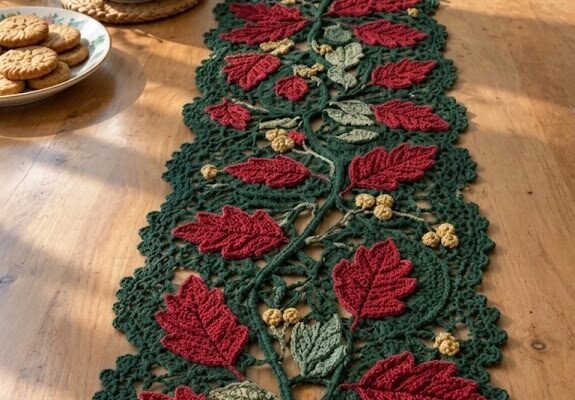
Bring a soft, handmade touch to your Christmas decorating with this elegant Crochet Spiral Christmas Tree Ornament. This little tree is made from one simple crocheted strip that naturally curls into a graceful spiral. Once shaped, it is decorated with pearl beads, a silver star, and a tiny jingle bell for a delicate festive finish.
The main tree is worked in white cotton yarn, creating a snowy, winter-inspired look. You can also make coordinating versions in ivory and silver-grey to create a beautiful trio for your Christmas tree, garland, mantel, or gift wrapping.
The construction is easier than it looks. By gradually changing the height of the stitches and placing two stitches into each foundation chain, the crocheted strip naturally begins to curve. After shaping it around a cone, a little fabric stiffener helps the ornament hold its sculptural form.
Pattern Details
- Skill level: Easy
- Finished height: Approximately 12–14 cm (4¾–5½ in)
- Gauge: Not essential for this design
- Stitches: US crochet terminology
- Main color: White
Abbreviations
- ch – chain
- sc – single crochet
- hdc – half double crochet
- dc – double crochet
- tr – treble crochet
- rnd – round
- st/sts – stitch/stitches
Materials
For one ornament, you will need:
- Approximately 35 yd (32 m) of DK-weight, category 3, 100% cotton yarn in white
- 3.0 mm crochet hook
- Tapestry needle
- Sewing needle
- Matching white sewing thread
- Approximately 10 warm-ivory 4 mm pearl beads
- One small antique-silver star charm, approximately 12–15 mm
- One tiny antique-gold jingle bell, approximately 8–10 mm
- Approximately 25 cm (10 in) natural jute twine
- Fabric stiffener, or white PVA glue mixed with water in a 1:1 ratio
- Small brush
- Foam or cardboard cone approximately 12–15 cm (5–6 in) tall and about 6 cm (2½ in) wide at the base
- Cling film
- Dressmaking pins or similar pins
Wrap the cone in cling film before using it so the stiffened crochet can be removed easily.
How the Spiral Tree Works
The tree is created from a single long strip of crochet.
The first part of the strip uses single crochet stitches, followed by half double crochet, double crochet, and treble crochet. Because the stitches become progressively taller and each foundation chain receives two stitches, the strip naturally develops a curved, expanding shape.
The narrower end becomes the top of the tree, while the wider treble-crochet end forms the lower portion.
Once the strip is wrapped around the cone, the layers resemble a small spiral staircase. Stiffening the finished piece allows the tiers to remain open and dimensional.
Step 1: Crochet the Spiral Strip
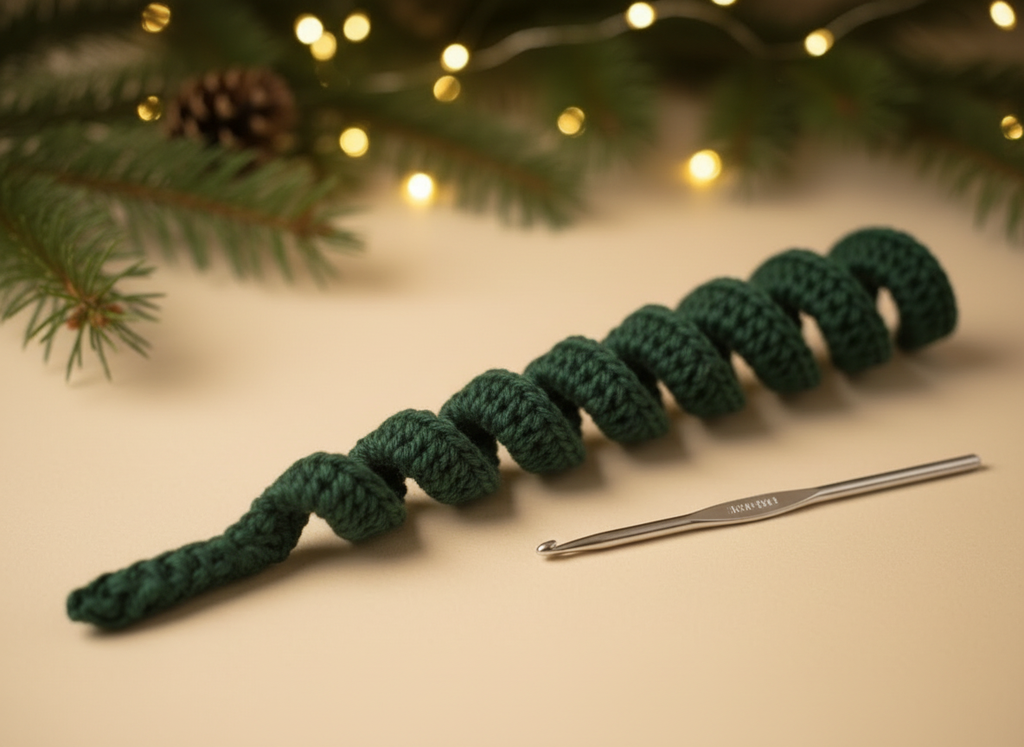
Before beginning, make sure you are comfortable with the four basic stitches used in this pattern.
For a quick practice, chain 13 and work 2 hdc into each of the next 12 chains. The sample should begin curling. If it remains completely flat, your tension may be loose; try a smaller hook.
Foundation
Chain 77.
Skip the first chain and begin working into the next 76 chains.
Work 2 stitches into each chain as follows:
- 2 sc into each of the first 12 chains = 24 sc
- 2 hdc into each of the next 16 chains = 32 hdc
- 2 dc into each of the next 22 chains = 44 dc
- 2 tr into each of the final 26 chains = 52 tr
You should have 152 stitches at the end of the row.
Second Row
Chain 1 and turn.
Work 1 sc into the top of every stitch across.
You will again have 152 stitches.
Fasten off, leaving approximately a 30 cm (12 in) yarn tail. Keep the original starting tail as well.
At this point, you should have one long, slightly curved strip. The sc end is narrow and will become the top of the Christmas tree. The tr end is wider and will form the lower tiers.
Step 2: Form the Tree

Place the narrow single-crochet end against the top of the prepared cone.
Begin wrapping the strip around the cone, moving downward as you go. Arrange it like a spiral staircase, allowing each lower section to extend slightly farther outward than the section above it.
Aim for approximately 5–6 visible tiers, with roughly 1.5–2 cm (½–¾ in) between the tiers.
Use pins to temporarily hold the crochet in place.
The foundation-chain edge should sit toward the inside of the spiral, close to the cone, while the second-row edge should form the outer edge.
Step 3: Join and Secure the Tiers

Cut approximately 40 cm (16 in) of white yarn and thread it onto the tapestry needle.
Beginning near the top, stitch the inner edge of one tier to the inner edge of the tier beneath it. Use two small securing stitches before moving downward.
Continue along one side of the ornament from the top toward the bottom.
Repeat the process on the opposite side.
These small joins help the spiral maintain its three-dimensional tree shape without making the tiers completely flat.
Weave in the loose ends.
Step 4: Stiffen the Ornament
Apply a thin, even layer of fabric stiffener over the crocheted tree using a small brush.
You can also use a mixture of white PVA glue and water in equal parts.
While the crochet is still damp, gently adjust the tiers so they are evenly spaced and have the shape you want.
Leave the ornament on the cone until it is completely dry. Depending on the product and humidity, this may take approximately 12–24 hours.
Once dry, carefully remove the pins and slide the finished tree away from the cone.
The ornament should now retain its spiral shape.
The completed tree will be approximately 12–14 cm (4¾–5½ in) tall.
Step 5: Add the Pearl Decorations

Thread a sewing needle with approximately 40 cm (16 in) of matching white thread.
Place a knot at the end.
Bring the needle through a stitch along the outer edge of one tier. Slide a pearl onto the thread, then take the needle back through the following stitch.
Pull gently so the pearl sits securely against the crochet.
For additional security, pass the needle through the pearl once more before fastening the thread on the back.
Add approximately 10 pearls throughout the tree.
They do not need to be perfectly symmetrical. Spacing them irregularly gives the ornament a more natural, decorated-tree appearance.
Try placing around two pearls on several of the lower tiers and one or two on the upper sections.
Keep the beads toward the outside edge so they catch the light when the ornament hangs.
Step 6: Attach the Jingle Bell
Cut approximately 15 cm (6 in) of thread and fold it in half.
Pass the folded thread through the loop of the small jingle bell.
Attach the bell to the center of the lowest tier on the underside of the tree.
Secure the thread firmly and trim the excess.
The bell should hang approximately 1 cm (⅜ in) below the bottom tier and should move freely when the ornament is touched.
Give the bell a gentle tug to make sure it is securely attached.
Step 7: Add the Silver Star

Use the original starting yarn tail at the top of the tree.
Thread it onto the tapestry needle and pass it through the hole in the silver star charm.
Bring the yarn through the top stitches of the tree several times so the star sits upright at the tip.
Tie the yarn securely on the inside of the top section and hide the remaining end.
The silver star provides a lovely contrast against the white crocheted spiral.
Step 8: Make the Hanging Loop

Take approximately 25 cm (10 in) of natural jute twine.
Fold it in half.
If the opening in the star charm is large enough, pass both ends through it. Otherwise, attach the twine beneath the top stitches beside the star.
Pull the folded section through to create a hanging loop.
Tie the two loose ends together securely behind the star.
Aim for a finished loop of approximately 10 cm (4 in).
Hold the ornament by the loop and check that it hangs straight. If the tree tilts slightly, reposition the knot until the ornament balances properly.
Step 9: Create a Coordinating Set
For a coordinated Christmas display, make two additional spiral trees using the same pattern.
Try these color combinations:
- Snow white: White crochet, ivory pearls, silver star
- Warm ivory: Ivory crochet, ivory pearls, silver star
- Soft silver-grey: Silver-grey crochet, ivory pearls, silver star
Because the stitch counts remain the same, all three ornaments should be approximately the same size.
Each strip may curl a little differently, which gives every handmade tree its own character.
Hang the three ornaments at different heights from a Christmas tree branch, decorative ribbon, garland, or festive display.
The white tree works especially well as the focal piece, with the ivory and silver-grey versions slightly behind it.
For an extra winter effect, arrange the ornaments with small pinecones, evergreen sprigs, and warm-white fairy lights.
Helpful Tips
- Keep your tension reasonably consistent throughout the strip.
- If the practice swatch does not curl, try a smaller hook.
- Do not apply too much stiffener at once; several thin applications can give a cleaner result.
- Make sure the cone is covered with cling film before stiffening.
- Allow the ornament to dry completely before removing it from the form.
- Attach the beads firmly, especially if the ornament will be handled frequently.
- Adjust the spacing of the spiral tiers before the stiffener dries.
Final Result
Your finished ornament is a delicate little winter tree made from a single crocheted spiral.
The white crochet creates a snowy appearance, while the pearl beads add subtle sparkle. A silver star crowns the tree, and the tiny bell provides a playful finishing touch.
These ornaments are lovely displayed individually, but a collection of several trees can create an especially beautiful handmade Christmas arrangement. They can decorate a Christmas tree, hang from a garland, brighten a mantel, or be attached to a wrapped present as a reusable handmade gift tag.
You can also experiment with different yarn colors, bead shades, charms, and hanging materials to create a collection that matches your holiday decorating style.
Most importantly, enjoy the process and make each little spiral tree your own.